Veeam® Backup for Microsoft 365
Veeam® Backup for Microsoft 365 is a complete solution that enables you to backup and restore data of your Microsoft 365 organizations, including Microsoft Exchange, SharePoint, OneDrive for Business, and Microsoft Teams. It helps eliminate the risk of losing access and control over your data and keeps it always protected.
Learn how to access and manage IDrive® e2 storage via Veeam® backup for Microsoft 365.
Sections in this article
- Prerequisites
- Download and Install Veeam® Backup for Microsoft 365
- Add Organization
- Add IDrive® e2 Cloud Storage Repository
- Add local repository
- Create a backup job
Prerequisites
- Veeam® Backup for Microsoft 365
- Active Microsoft 365 account
- Active IDrive® e2 account with at least one storage bucket
Download and Install Veeam® Backup for Microsoft 365
Download and install Veeam® Backup for Microsoft 365 and refer to the steps below:
Add Organization
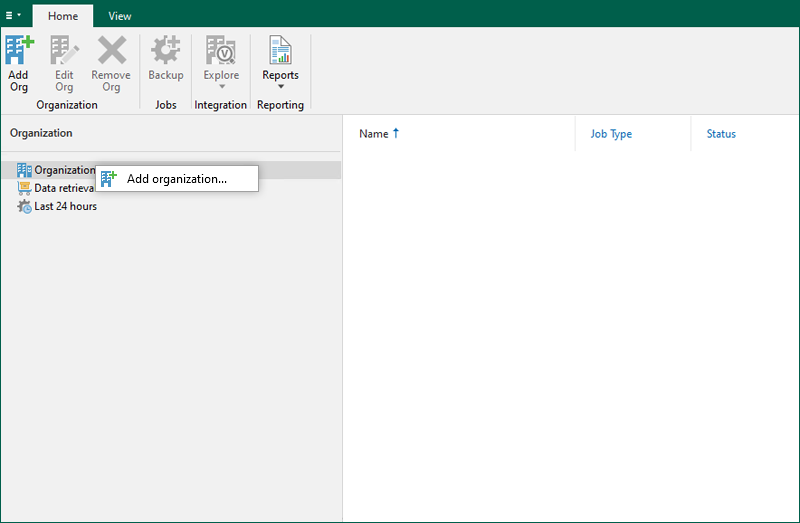
- Launch the application and navigate to Organizations > Add organization.
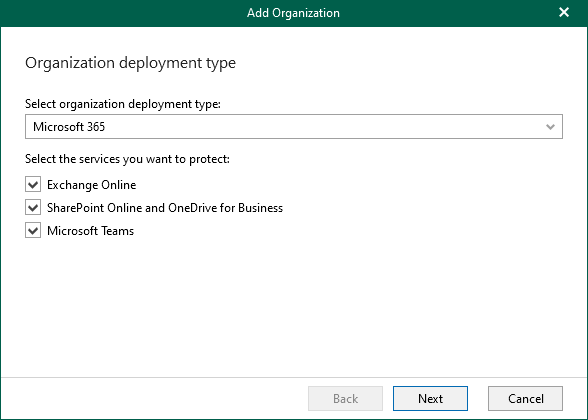
- Choose Microsoft 365 and select the services you want to protect and click Next.
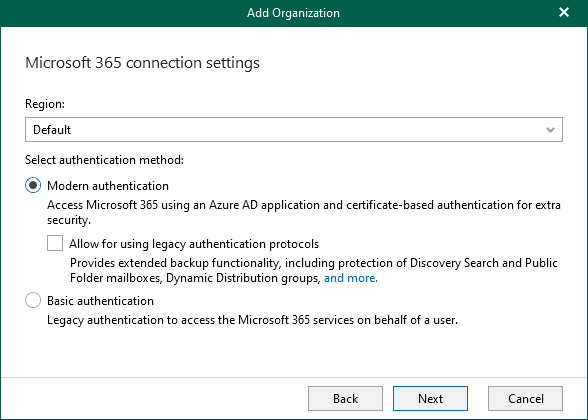
- Select the region as a Default and choose an authentication method from Basic Authentication or Modern Authentication and click Next.
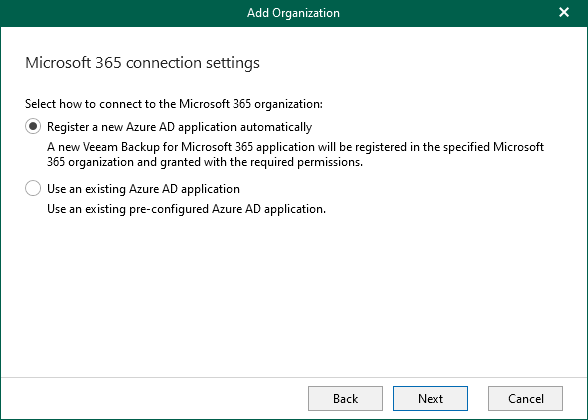
- To set Microsoft 365 connection settings, select how to connect to Microsoft 365 and click Next.
- Enter a name for Veeam® to register with Azure AD and click Install.
You can tick the checkbox to Allow this application to enable export more for Sharepoint Web Parts..." if you want to backup customized SharePoint Online sites.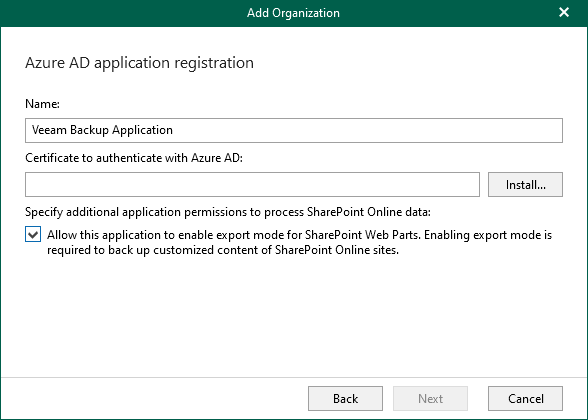
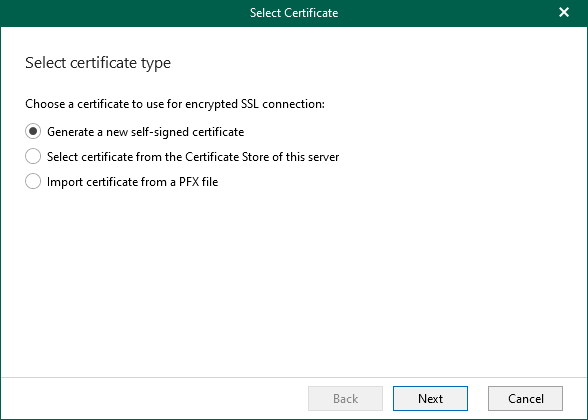
- Choose a certificate to be used for encrypted SSL connection and click Next.
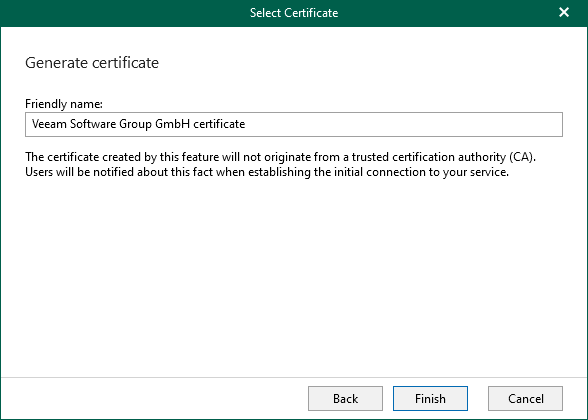
- Update the default certificate name or keep the same and click Finish.
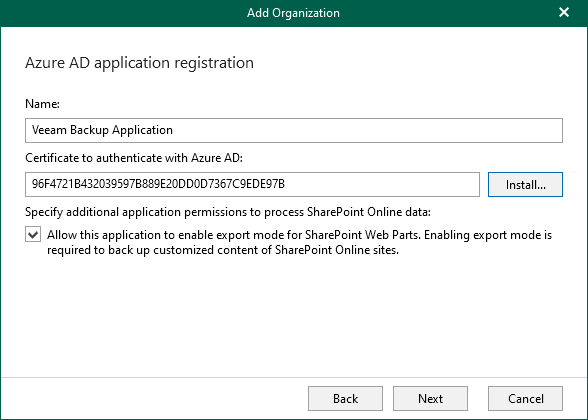
- The registration process is now complete, click Next.
- Authenticate with Microsoft 365, click Copy Code and click the URL provided.
As you click the URL "https://microsoft.com/devicelogin", a window will open and you will need to complete the authentication with Microsoft 365.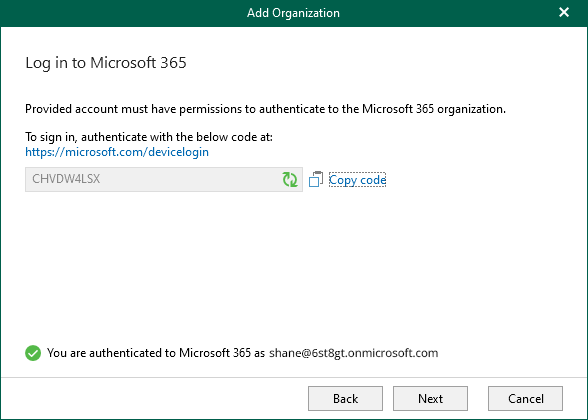
- Enter the code you have copied and click Next.
- The below screen will appear when you complete the authentication process.
- Now go to the Veeam® Organization Setup and click Next.
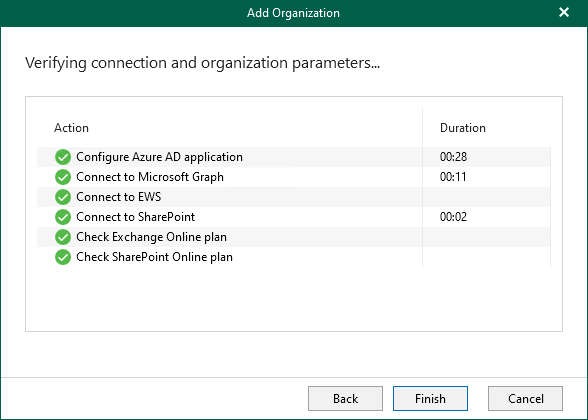
- Review and verify connection and organization parameters and click Finish.
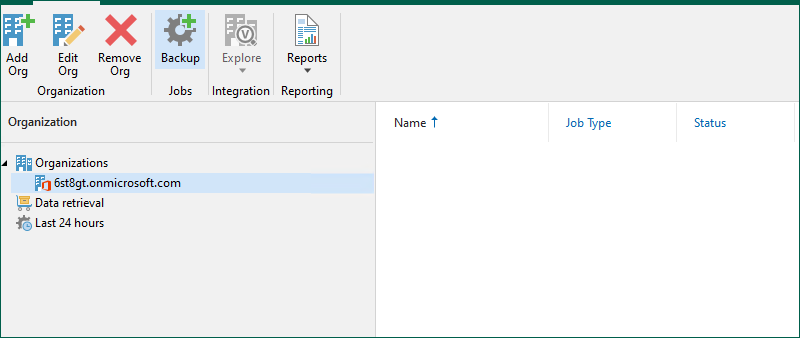
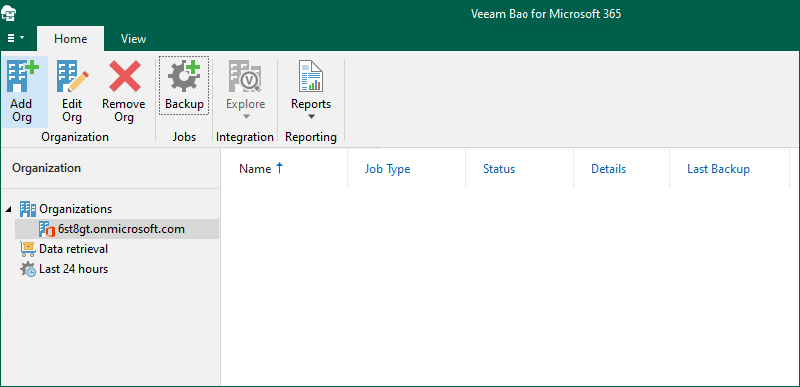
- Now, you will see the newly created Organization in the list.
Add IDrive ® e2 Cloud Storage Repository
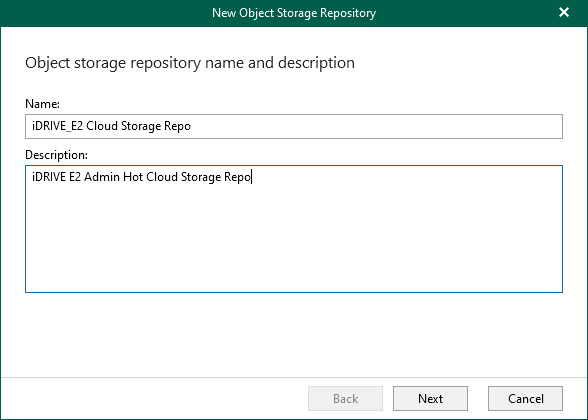
- Navigate to Backup Infrastructure > Object Storage Repositories > Add object storage.

- Type a name and provide a description and click Next.
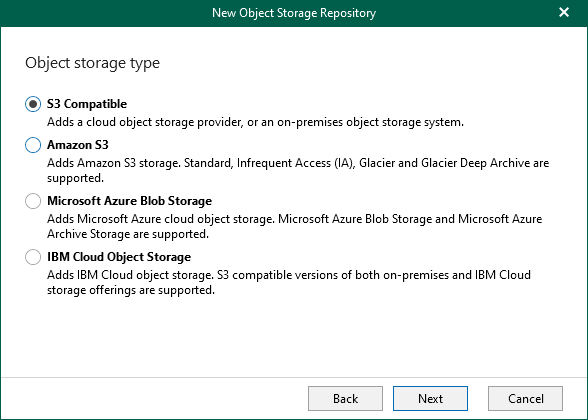
- Select S3 Compatible and click Next.
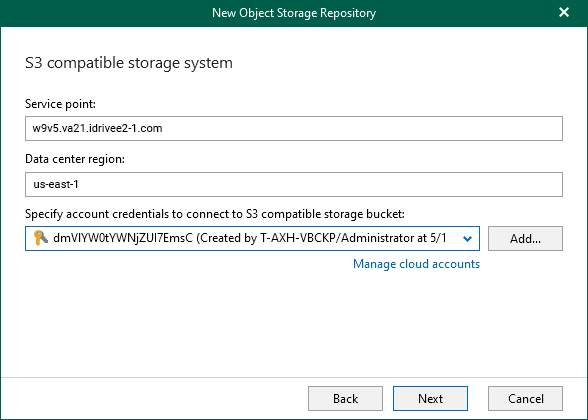
- Enter the service URL, region name, and provide Access key, and Secret key. Access keys can be obtained from the Access Keys tab of the IDrive® e2 account.
- Specify the S3 bucket list and click Browse.
You can either select an existing directory or click on New Folder to add a new one and click Finish.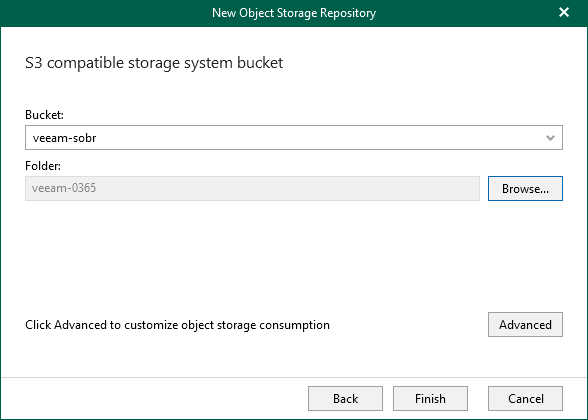
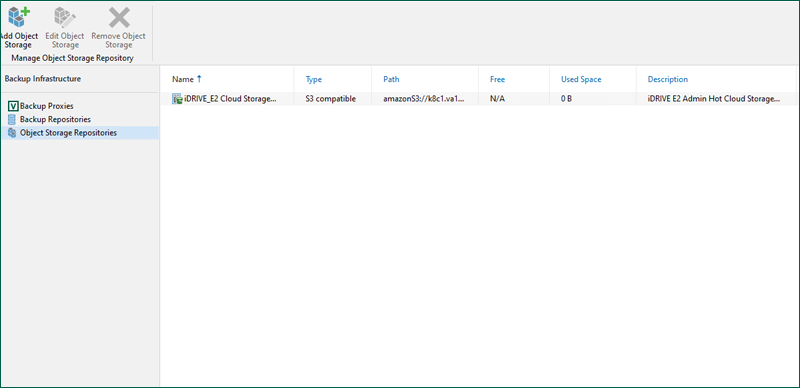
- You will now see the newly created Object Storage Repository.
Add local repository
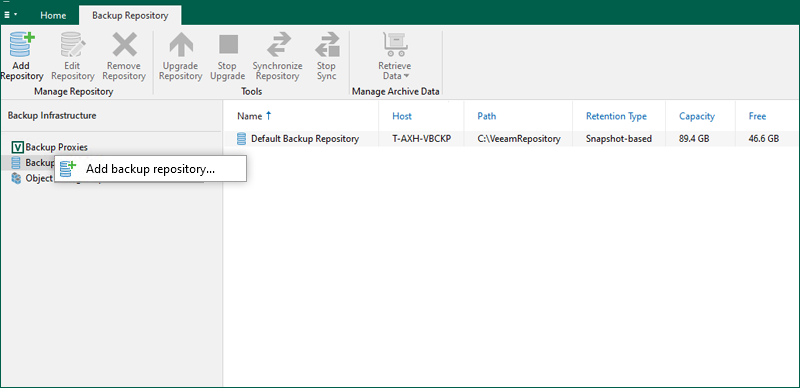
- Navigate to Backup Repositories > Add backup repository.
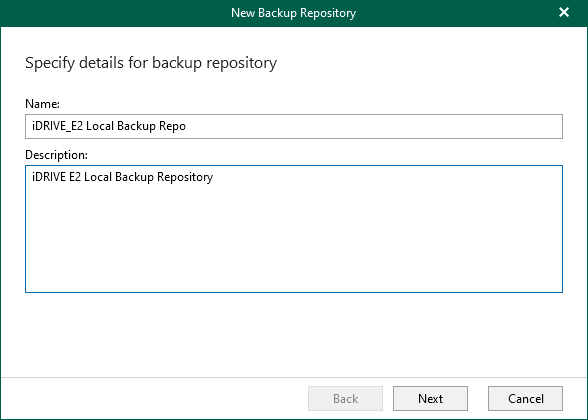
- Provide a name and description and click Next.
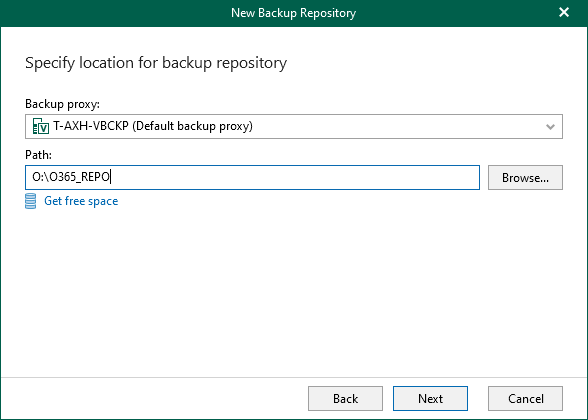
- Keep the default backup proxy, or select an alternative and click Browse.
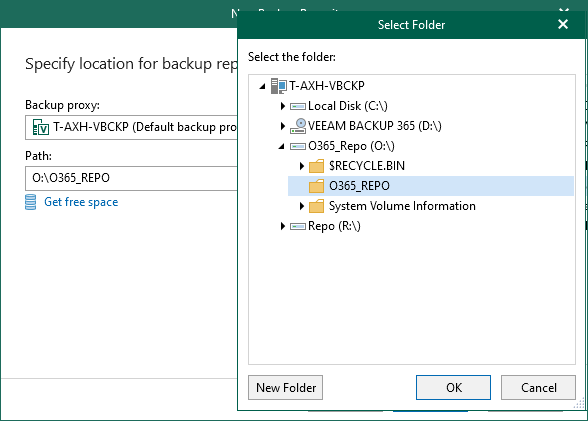
- Create a new folder, or select an existing one and click OK and Next.
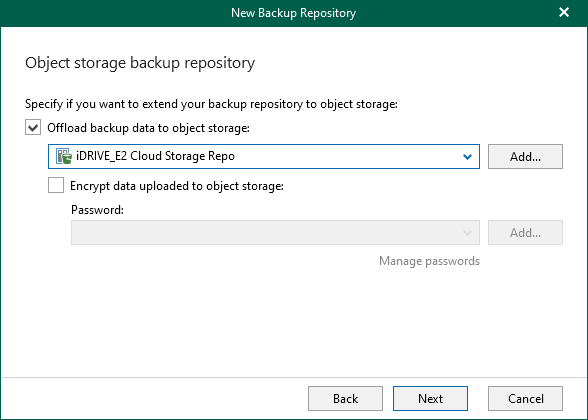
- Check Offload backup data to object storage, select the previously created IDrive® e2 Object Storage Repo and click Next.
- Choose your retention policy and click Advanced.
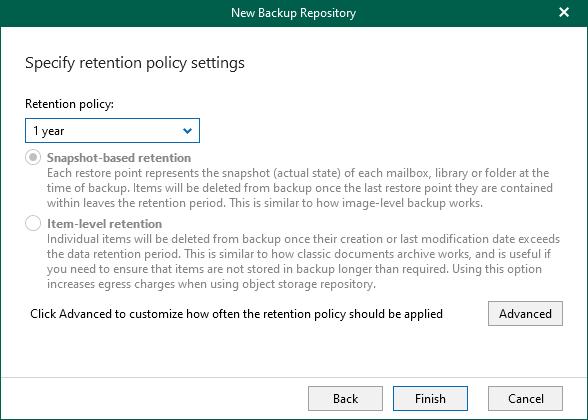
- Schedule your retention policy or keep it default, click OK and Finish.

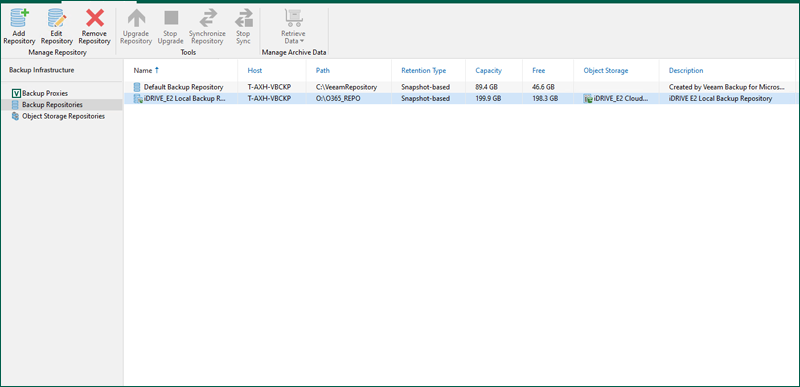
- Now, You will see your newly created Local Backup Repository.
Create a backup job
- Navigate to the Organizations tab, select your organization and click Backup.
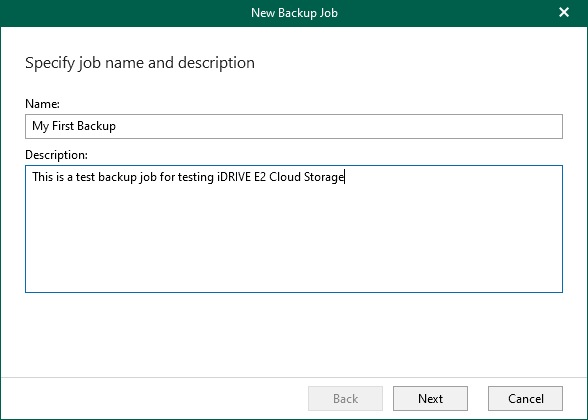
- Provide a name for your backup, enter the description, and click Next.
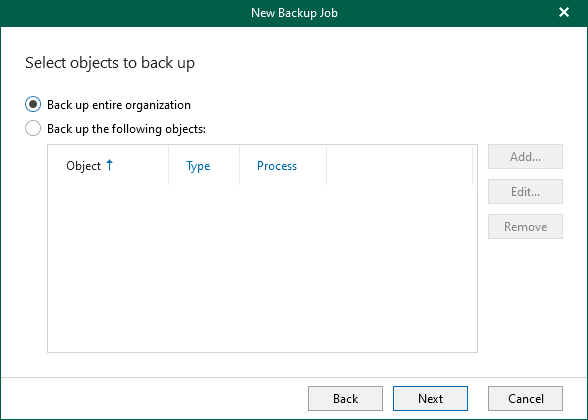
- Select what you wish to backup and click Next.
- Click Exclude, if any data needs to be excluded and click Next.

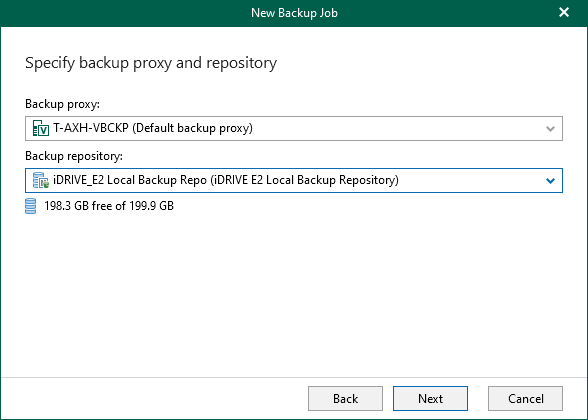
- Select IDrive e2 Backup Repository, previously created, and click Next.
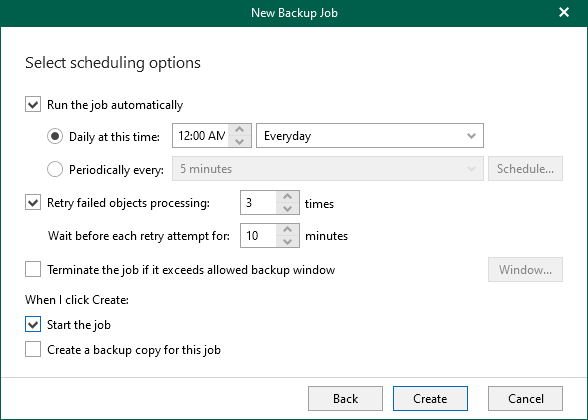
- Select the scheduling for the job that you have just created, and click Create.
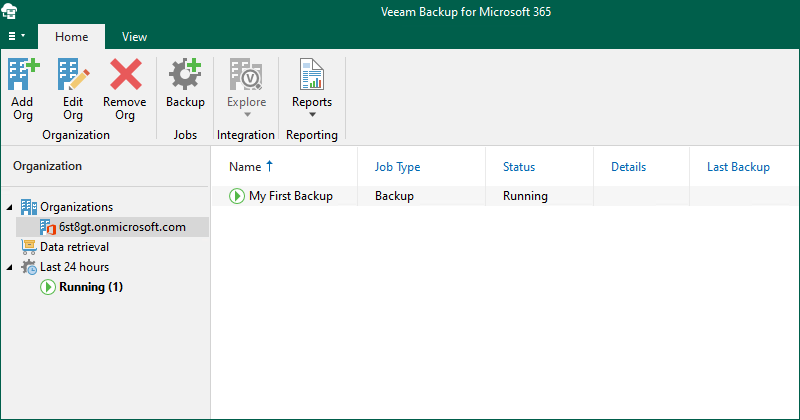
- View the status of the newly created job change to Running.
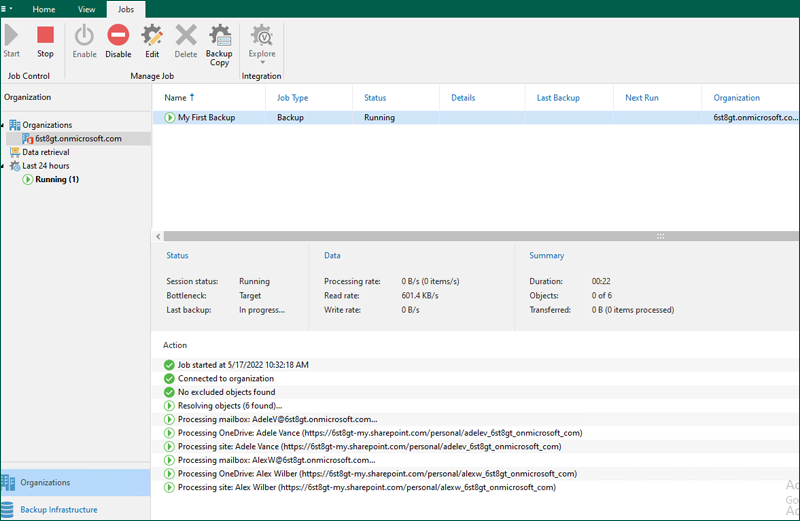
- Click the Running tab to view the statistics of your newly started job.
- As your backup job completes, you can see the statistics.
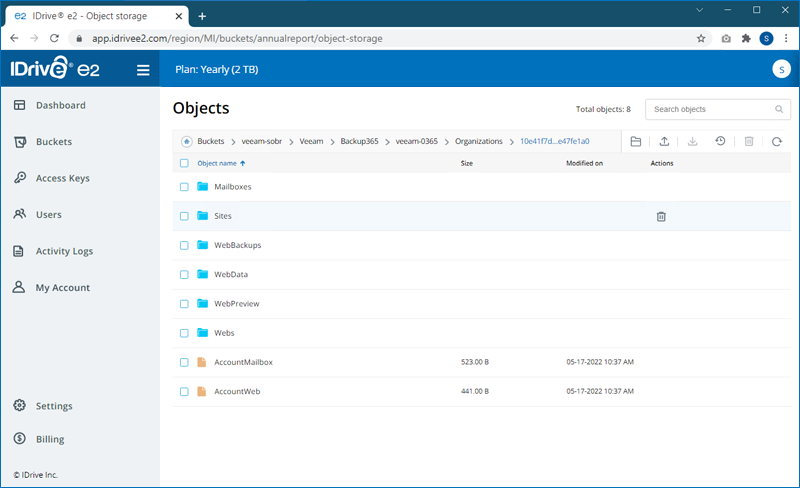
- Log in to IDrive® e2 to verify your data is being backed up.
Note: Data restoration is handled by your specific backup solution provider and is affected by multiple variables that are unique to your environment. For application-related enquiries/support, it is strongly recommended you seek guidance from the technical team of your backup solution provider.